
The vests control panel is an open-source, powerful website control panel that comes with a database, email, website, and the DNS functionalities. It has various features such as the ability to manger the server from a built-in command-line interface, softaculous support.
From this blog, you will get an apparent view regarding Installation and configuration of Vesta control panel in Ubuntu 18.04 as it is part of our server management plan. You can also take assistance from our technical team support 24/7 for further Migration and configuration.
Step 1: Build the NEW server
Prerequisites:
Server running Ubuntu 18.04
A root password needs to set on the server.
First, update the server with the latest version. Run the following commands.
apt-get update - y
apt-get upgrade -y
Restart once it updated in order to apply the configuration changes.
Later, you need to set the local name resolution on the server. It can be done by editing/etc/host file.
nano /etc/hostsSave and close the file.
Installing the vestaCP
Download the vestaCP by following the commands.
wget http://vestacp.com/pub/vst-install.shonce downloaded, then change the permission by running the following command.
chmod 755 vst-install.shNext, start the installation by running the following.
bash vst-install.shWhile installing, you need to answer the series of questions.
_|      _|  _|_|_|_|    _|_|_|  _|_|_|_|_|    _|_|
 _|      _|  _|        _|            _|      _|    _|
 _|      _|  _|_|_|      _|_|        _|      _|_|_|_|
   _|  _|    _|              _|      _|      _|    _|
     _|      _|_|_|_|  _|_|_|        _|      _|    _|

                                  Vesta Control Panel


The following software will be installed on your system:
   - Nginx Web Server
   - Apache Web Server (as backend)
   - Bind DNS Server
   - Exim Mail Server
   - Dovecot POP3/IMAP Server
- MySQL Database Server
   - Vsftpd FTP Server
   - Softaculous Plugin
   - Iptables Firewall + Fail2Ban


Would you like to continue [y/n]: y
Type 'Y' and ENTER to continue:
Please enter admin email address: [email protected]
Please enter FQDN hostname [vestacp.example.com]:
Installation backup directory: /root/vst_install_backups/1564552012
Provide an admin email address, FQDN and installation backup directory then press the ENTER button. You can see the following output once the installation has completed.
_|      _|  _|_|_|_|    _|_|_|  _|_|_|_|_|    _|_|
 _|      _|  _|        _|            _|      _|    _|
 _|      _|  _|_|_|      _|_|        _|      _|_|_|_|
   _|  _|    _|              _|      _|      _|    _|
     _|      _|_|_|_|  _|_|_|        _|      _|    _|


Congratulations, you have just successfully installed Vesta Control Panel

    https://vestacp.example.com:8083
    username: admin
    password: admin@123

We hope that you enjoy your installation of Vesta. Please feel free to contact us anytime if you have any questions.
Thank you.
--
Sincerely yours
vestacp.com team
Access VestaCP web interface
Now open the web browser and type the URL https://vestacp.example.com:8083. It will redirect to the vestaCP login page.
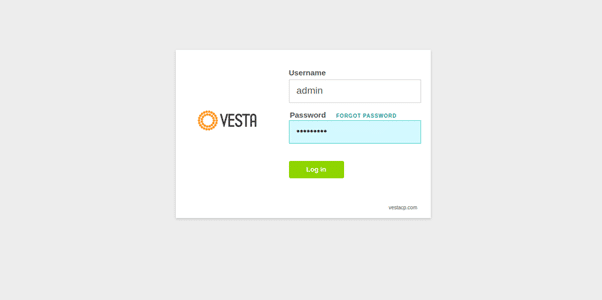
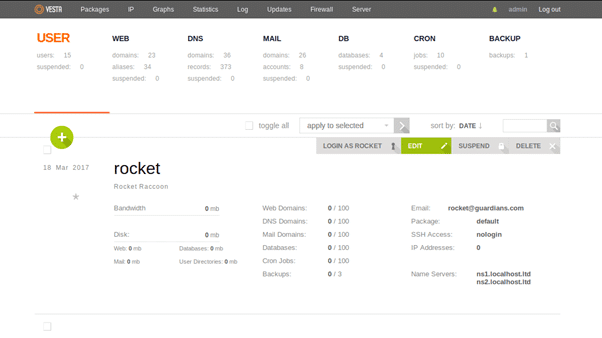
Then provide the vestaCP admin username and the password, click and login in.it displays the dashboard as shown below.
Later, it recommended changing your default admin password. To proceed, try to click on the admin on the top right-hand side of the panel.
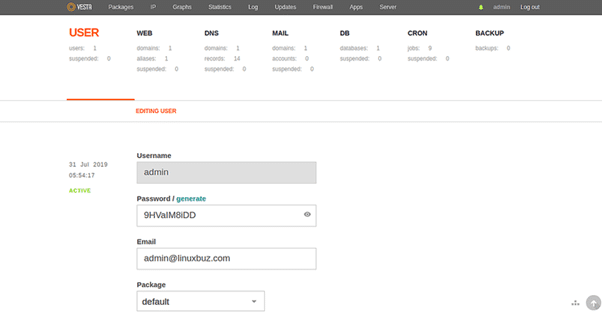
Provide the password and click Generate. The vestCP will provide a secure password for you then click on save button
Configuring and Setting up a new website
Click on the green + button on the vestaCP home page.
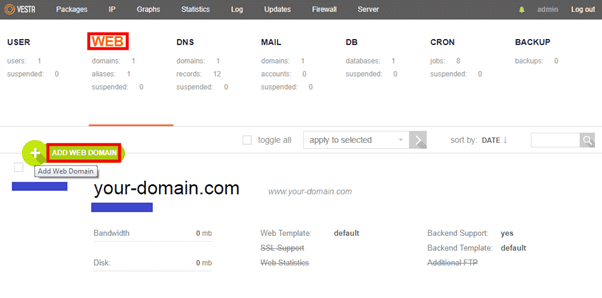
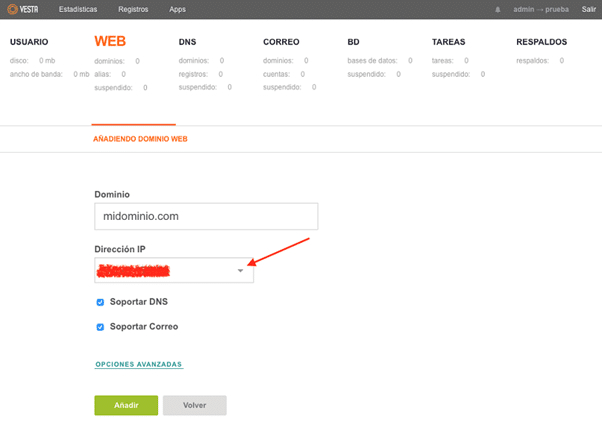
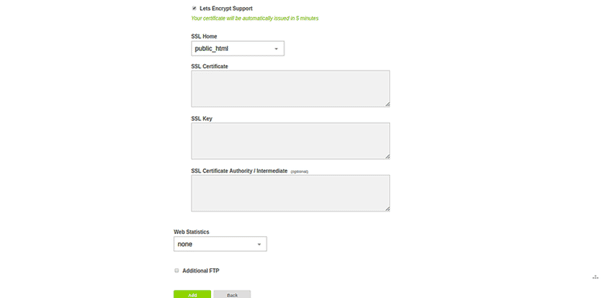
Provide the domain name, public IP address, mail support, DNS support, encrypt support then click on the Add button.
Browser and then type the URL https://test.example.com in order to test the newly created website. You can see the following vestCP page image.
That’s it you have successfully created the VestaCP on the Ubuntu 18.04.you can also host any website such as Tomcat, Joomla, WordPress from the VestaCP control panel.
Conclusion
This blog will walk you through the installation and configuration of Vesta on ubuntu 18.04server. Proceed with the steps for any assistance you can take our technical team support.
