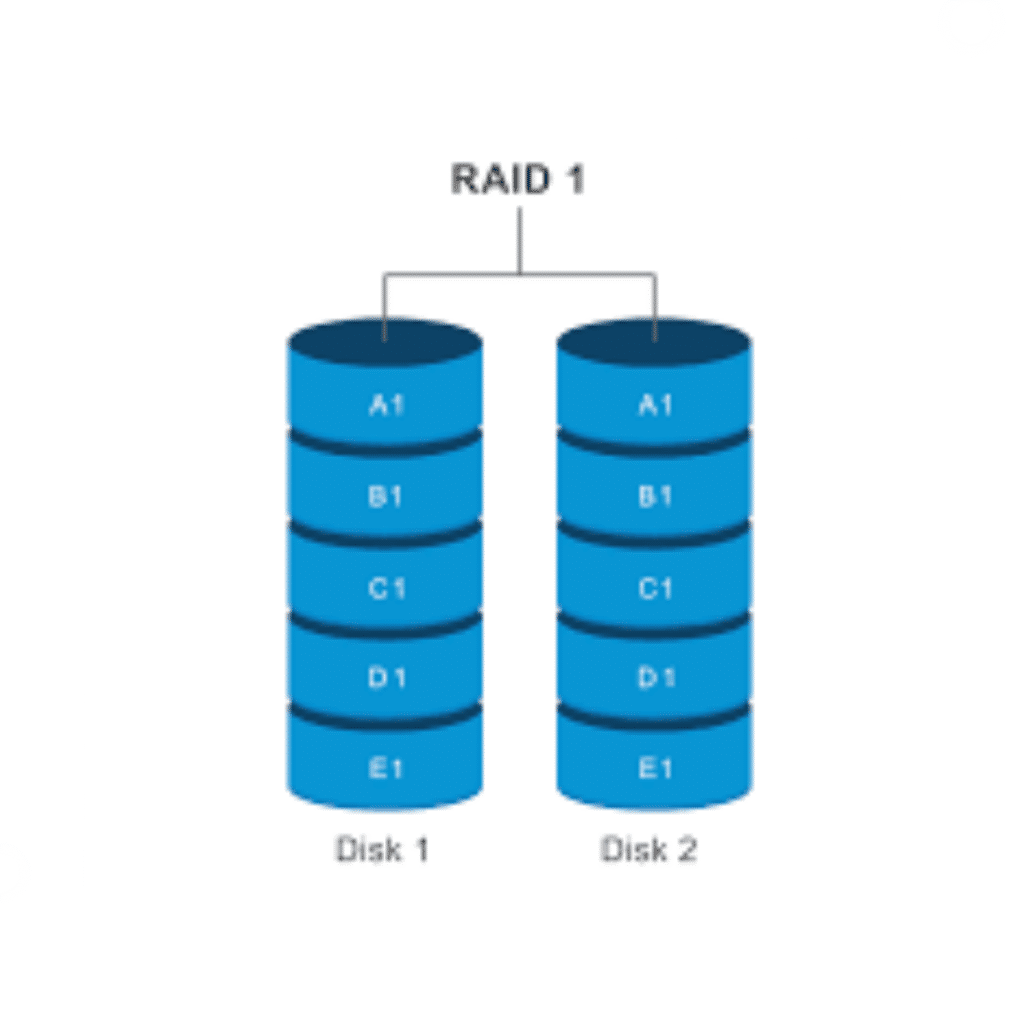
RAID 1, sometimes referred to as “mirroring,” is a kind of RAID (Redundant Array of Independent Disks) setup that offers fault tolerance and redundancy for data. To create an exact replica (or mirror) of the data on each disk, data is copied over two or more drives in RAID 1.
Here are some essential features and how RAID 1 functions:
Data Mirroring: Using several disks, RAID 1 mirrors data. To guarantee that every disk in the array has an exact copy of the data, every write operation is replicated across all of the disks.
Fault Tolerance: In the event that one disk fails, RAID 1 keeps the system going, hence providing fault tolerance. The system may still access the data from the remaining disk(s) in the array because the data has been copied.
Redundancy is provided by RAID 1, which means that even in the event of a disk failure, data can still be accessed from the surviving disk or disks. Due to this redundancy, data loss from disk failures is less likely.
Read Performance: In general, RAID 1 provides strong read performance, particularly in situations where read operations outweigh write activities. The system can read from any disk in the array when reading data, which could enhance read performance.
Write Performance: Because every write operation in RAID 1 must be repeated over every disk in the array, write performance is typically slower than in RAID levels that stripe data across several disks (like RAID 0).
Capacity Utilization: When an array is configured in RAID 1, its useable capacity is equivalent to the capacity of a single disk. For instance, since both drives have identical copies of the data, the useable capacity of a two-disk RAID 1 array with 1 TB disks would be 1 TB.
Complexity of Setup: Compared to certain other RAID levels, RAID 1 is comparatively easier to set up and maintain because it doesn’t require complicated striping or parity computations.
Install mdadm
dnf install mdadmHard drives partitioning
Use the fdisk command (fdisk -l) to inspect hard disks.
Command to start the first disk’s partitioning. This will cause the fdisk menu to appear. If your disk name differs, replace it with your own.
fdisk /dev/sda- To start a new partition, type n.
- To designate this as the primary partition, enter p.
- Type the partition number, 1.
- To respond by default to the first and last sector prompts, simply hit the enter key.
- To choose the recently created partition, enter t.
- To set up Linux RAID on the partition, enter 29.
- To write all of these modifications to the disk, enter w.
For our second disk, we now have to follow exactly the same procedures. That would be disk /dev/sdb in our scenario.
Establish a RAID device
Use this command to create a RAID array named /dev/md0, replacing the drive names if needed.
mdadm --create /dev/md0 --level=mirror --raid-devices=2 /dev/sda /dev/sdb- Install a file system on the device after that. In this case, ext4 will be utilized.
mkfs.xfs /dev/md0 - Create a directory now so that you may mount the just established RAID device. after which mount the device there.
mkdir -p /mnt/rd1

mount /dev/md0 /mnt/rd1
Setup persistent RAID mount
/dev/md0 /mnt/rd1 ext4 defaults 0 0Make the above entry in /etc/fstab
Thus you have successfully set up a RAID 1 array that remains mounted even after the system reboots.
Our Technical Team will be available to assist you with How To Setup RAID1 for Linux servers that can make your job a lot easier. Get in Touch with Skynats if you have any queries.

