Introduction
WildFly, previously known as JBoss Application Server, is a Java-based open-source application server developed by Red Hat. It serves as a platform for the development and deployment of enterprise-level applications. WildFly is known for its high performance, modular design, and ease of management. In this blog, we will help you through the step-by-step process to Install WildFly Application Server on AlmaLinux 10. By the end of this blog, you will have a fully functional WildFly server running as a system service.
Prerequisites
Before starting, ensure you have the following:
- AlmaLinux 10 server
- Root or sudo privileges
- Internet connectivity
- Basic Linux command-line knowledge
Step 1: Update the System
Always begin by updating your system packages to avoid compatibility issues:
dnf updateStep 2: Install Java (OpenJDK)
WildFly requires Java to run. AlmaLinux 10 supports OpenJDK 21, which works well with recent WildFly versions.
dnf search openjdk
dnf install -y java-21-openjdk-devel
java --version
Confirming the Java version ensures the runtime environment is correctly installed.
Step 3: Create WildFly User and Group
For security reasons, WildFly should not run as the root user.
groupadd -r wildfly
useradd -r -g wildfly -d /opt/wildfly -s /sbin/nologin wildfly
Step 4: Download and Install WildFly
Install required utilities and download WildFly:
dnf install -y wget tarGo to Wildfly official sie to download your desired version of Wildfly (https://www.wildfly.org/downloads/ )
wget https://github.com/wildfly/wildfly/releases/download/39.0.0.Beta1/wildfly-39.0.0.Beta1.tar.gzExtract the archive and create a symbolic link for easier upgrades:
tar -xvzf wildfly-39.0.0.Beta1.tar.gz -C /opt/
ln -s /opt/wildfly-39.0.0.Beta1 /opt/wildfly
Set proper ownership:
chown -R wildfly:wildfly /opt/wildfly-39.0.0.Beta1
chown -h wildfly:wildfly /opt/wildfly
Step 5: Configure WildFly as a systemd Service
Create configuration directories and copy systemd files:
mkdir -p /etc/wildfly
cp /opt/wildfly/docs/contrib/scripts/systemd/wildfly.conf /etc/wildfly/
View the content of the WildFly configuration file, use:
cat /etc/wildfly/wildfly.conf~]# cat /etc/wildfly/wildfly.conf
# The configuration you want to run
WILDFLY_CONFIG=standalone.xml
# The mode you want to run
WILDFLY_MODE=standalone
# The address to bind to
WILDFLY_BIND=0.0.0.0Wildfly is standalone in this setup, but you can change this according to your preference.
Next, copy the launch.sh script, which is necessary to start WildFly as a service:
cp /opt/wildfly/docs/contrib/scripts/systemd/launch.sh /opt/wildfly/bin/copy the WildFly service file:
cp /opt/wildfly/docs/contrib/scripts/systemd/wildfly.service /usr/lib/systemd/system/Create a directory to store the PID file and set its ownership to the wildfly user.
mkdir /var/run/wildfly
chown -R wildfly:wildfly /var/run/wildfly
chmod +x /opt/wildfly/bin/*.sh
Step 6: SELinux Configuration
SELinux can block WildFly if not properly configured. Apply the required policies:
dnf install -y policycoreutils-python-utils
semanage fcontext -a -t bin_t "/opt/wildfly/bin(/.*)?"
restorecon -Rv /opt/wildfly/bin/
setsebool -P httpd_can_network_connect 1
Step 7: Start and Enable WildFly
Reload systemd and start the service:
systemctl daemon-reload
systemctl daemon-reexec
systemctl start wildfly
systemctl enable wildfly
systemctl status wildfly
If your server has firewall enabled, make sure to open the ports 8080 and 9990.
Step 8: Configure Wildfly for Web Admin Access
To create a management user for the web console:
/opt/wildfly/bin/add-user.shDuring the WildFly user setup, you will be required to enter a username and password. Enter your WildFly credentials and follow the on-screen instructions. These credentials are used to access the web admin console.
Next, open the WildFly configuration file /etc/wildfly/wildfly.conf:
vim /etc/wildfly/wildfly.confReplace the line “ WILDFLY_BIND=0.0.0.0 ” with:
WILDFLY_CONSOLE_BIND=0.0.0.0Next, open /opt/wildfly/bin/launch.sh script and replace the line “ $WILDFLY_HOME/bin/standalone.sh -c $2 -b $3 “ with :
$WILDFLY_HOME/bin/standalone.sh -c $2 -b $3 -bmanagement=0.0.0.0Lastly, open the WildFly service file /usr/lib/systemd/system/wildfly.service and replace the line “ ExecStart=/opt/wildfly/bin/launch.sh $WILDFLY_MODE $WILDFLY_CONFIG $WILDFLY_BIND “ with :
ExecStart=/opt/wildfly/bin/launch.sh $WILDFLY_MODE $WILDFLY_CONFIG $WILDFLY_BIND $WILDFLY_CONSOLE_BINDSave all the edits and restart the service
systemctl daemon-reload
systemctl restart wildfly
Step 9: Access Web Admin Console
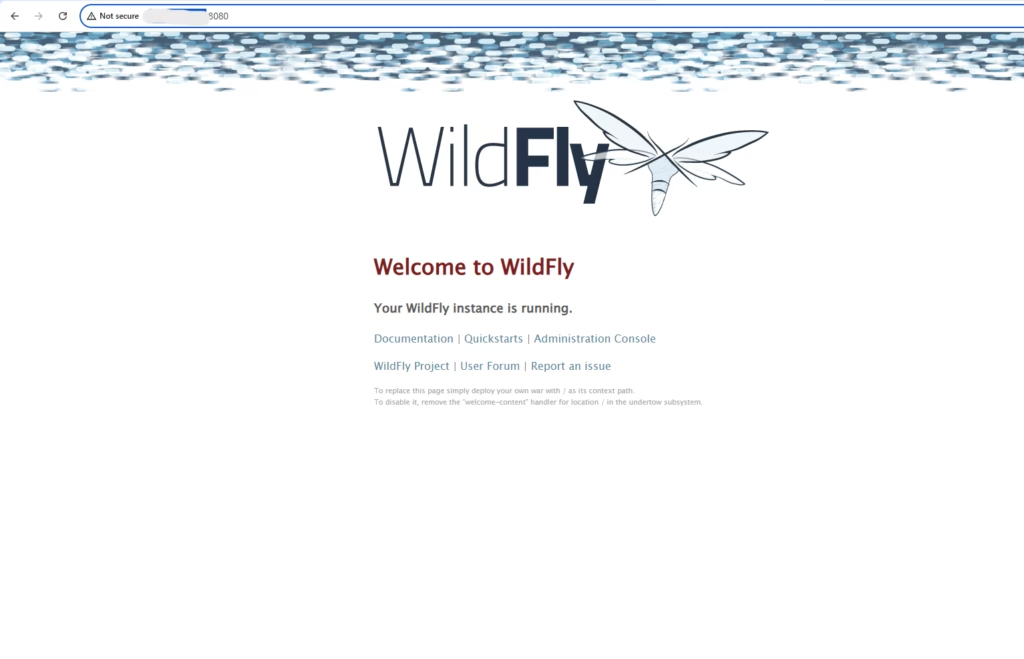
By default, the WildFly web interface is available on HTTP port 8080. You can access it by opening a browser and visiting http://your-domain.com:8080
or http://your-server-ip:8080
Conclusion
You have successfully installed and configured WildFly Application Server on AlmaLinux 10 using systemd and SELinux-compatible settings. This setup ensures better security, stability, and automatic startup during system boot. With WildFly running correctly, you can now deploy Java applications and manage the server using the WildFly management console. This installation method is reliable, production-ready, and follows recommended best practices.
If you need expert help to Install WildFly Application Server on AlmaLinux 10 or want a hassle-free setup, our team is here to support you. With reliable Server Management Services and end-to-end DevOps Support Services, we ensure secure installation, optimal performance, and ongoing maintenance for your application servers. Contact us today to get professional assistance and keep your infrastructure running smoothly
