CodeIgniter is a lightweight, fast, flexible, and secure full-stack PHP web framework. It’s a toolkit designed to help people build websites with PHP more quickly. Instead of writing everything from scratch, CodeIgniter provides a collection of ready-to-use libraries for common tasks, along with a simple and organized way to access them, making Installing CodeIgniter on Ubuntu 24.04 a seamless process for developers.
Why go with CodeIgniter?
- It’s organized. The MVC structure keeps your code clean and easy to manage.
- It’s fast. It’s a lightweight framework designed for speed, so your applications will be snappy.
- It has everything you need. It comes with built-in libraries for common tasks, saving you from writing code from scratch.
- The documentation is great. The guides are clear and simple, even for beginners.
- It’s secure by default. It includes protection against common threats like SQL injection and XSS.
Prerequisites
- A server running Ubuntu 24.04
- Root or sudo user access
- Apache web server
- PHP (version 8.1 or higher recommended)
- Composer (PHP dependency manager)
- A domain name or local hostname
Step-by-Step Installation on Ubuntu 24.04
Step 1: Update and install apache & PHP dependencies
sudo apt update -y
sudo apt install apache2 php php-cli php-common php-imap php-redis php-snmp php-xml php-zip php-mbstring php-curl libapache2-mod-php php-intl -y
sudo systemctl start apache2
sudo systemctl enable apache2
php -v
Step 2: Install Composer — the official PHP package manager
curl -sS https://getcomposer.org/installer | php -- --install-dir=/usr/bin --filename=composer
composer --version
Step 3: Choose a directory and install CodeIgniter
In this tutorial we’re installing the CodIgniter in the user directory.
adduser example
cd /home/example/

composer create-project codeigniter4/appstarter app
Now we have initialised the CodeIgniter app in the user directory.
Step 4: Set permissions accordingly
Since the project is initialized in the user’s home directory, Apache must have the appropriate permissions to access and serve it.
chown -R example:example app/
cd app/
chown -R www-data:www-data writable/
usermod -a -G example www-data
chmod 750 /home/example/
chmod -R 750 /home/example/app/
Step 5: Configure Apache for CodeIgniter
Create and edit a new virtual host file to point Apache to the app directory:
vim /etc/apache2/sites-available/codeigniter.confPaste the below configuration:
<VirtualHost *:80>
    ServerName your.domain.name
    DocumentRoot /home/example/app/public

    <Directory /home/example/app/public>
        AllowOverride All
        Require all granted
    </Directory>

    ErrorLog ${APACHE_LOG_DIR}/ci-app_error.log
    CustomLog ${APACHE_LOG_DIR}/ci-app_access.log combined
</VirtualHost>
Make necessary changes accordingly, then save and exit.
Enable the new site and mod_rewrite, then reload Apache:
a2ensite codeigniter.conf
a2enmod rewrite
systemctl reload apache2
Step 5: Test your installation
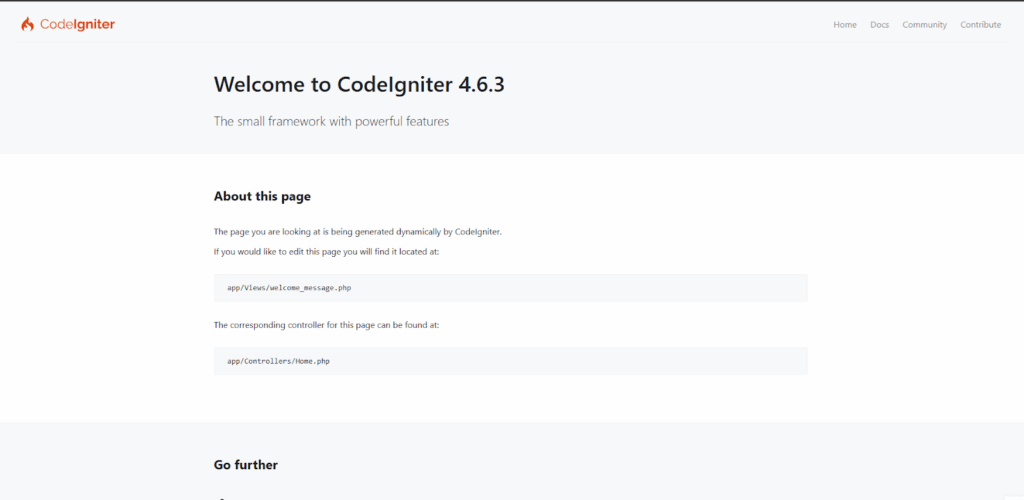
Open your browser and call your domain. You should see the default CodeIgniter welcome page.
Conclusion
Installing CodeIgniter in a custom directory like /home/user/ on Ubuntu 24.04 is entirely possible by configuring Apache correctly and ensuring proper permissions. This approach offers more flexibility for development environments and better aligns with user-specific workflows. CodeIgniter provides a fast, secure, and organized environment for developing dynamic web applications.
If you encounter challenges while installing CodeIgniter on Ubuntu 24.04 or need help with configuring your application for production, our team of experts is here to assist. At Skynats, we specialize in DevOps support services to ensure smooth deployment, server optimization, and hassle-free management of your applications. Contact us today to get reliable 24/7 support and streamline your CodeIgniter deployment.
