Umbraco is a popular, open-source content management system (CMS) built on Microsoft’s .NET platform. Known for its flexibility and extensibility, Umbraco is a go-to solution for building dynamic websites. In this guide, we’ll show you how to install Umbraco CMS on Ubuntu 22.04 or 24.04, using .NET 9 SDK and Microsoft SQL Server for the database.
Whether you’re developing locally or preparing for a production deployment, this tutorial will walk you through all the steps needed to get Umbraco up and running on your Linux server.
Install .NET SDK
To run Umbraco CMS, you need to have the .NET SDK installed. We’ll use the official installation script provided by Microsoft.
Install wget and download the .NET installation script
First, let’s install the required wget utility and download the installation script:
mkdir -p $HOME/dotnet && tar zxf dotnet-sdk-9.0.300-linux-x64.tar.gz -C $HOME/dotnet
export DOTNET_ROOT=$HOME/dotnet
export PATH=$PATH:$HOME/dotnet
Add the .NET SDK to your system’s PATH
To use the dotnet command globally, add it to your system’s PATH:
echo 'export DOTNET_ROOT=$HOME/.dotnet' >> ~/.bashrc
echo 'export PATH=$PATH:$HOME/.dotnet' >> ~/.bashrc
source ~/.bashrc
Verify Installation
Check if the installation was successful by verifying the .NET version:
dotnet --versionThe output should show a version like 9.0.300.
Install Microsoft SQL Server on Ubuntu
Umbraco CMS requires a database, and Microsoft SQL Server is its default choice. Here’s how to install it on your Ubuntu system.
Add Microsoft SQL Server GPG key and repository
curl https://packages.microsoft.com/keys/microsoft.asc | sudo tee /etc/apt/trusted.gpg.d/microsoft.asc
sudo add-apt-repository "$(wget -qO- https://packages.microsoft.com/config/ubuntu/22.04/mssql-server-2022.list)"
Install SQL Server
Now, update your package lists and install Microsoft SQL Server:
sudo apt-get update
sudo apt-get install -y mssql-server
Configure SQL Server
Run the setup command to configure SQL Server. You will be prompted to choose the edition and set an SA (admin) password:
sudo /opt/mssql/bin/mssql-conf setupCheck SQL Server status
Ensure the SQL Server service is running correctly:
systemctl status mssql-server --no-pagerIf the service is running, you should see output indicating that SQL Server is active.
Install SQL Server Command-Line ToolsAdd Microsoft tools repository
We’ll install the SQL Server command-line tools, which are useful for managing databases.
curl https://packages.microsoft.com/config/ubuntu/22.04/prod.list | sudo tee /etc/apt/sources.list.d/msprod.listInstall tools
sudo apt update
sudo apt-get install -y mssql-tools unixodbc-dev
Add tools to your system PATH
To use the sqlcmd and other tools from anywhere, add the tools to your system’s PATH:
echo 'export PATH="$PATH:/opt/mssql-tools/bin"' >> ~/.bashrc
source ~/.bashrc
Create a SQL Database for Umbraco
Now that SQL Server is installed, we need to create a database for Umbraco to use.
Log in to SQL Server
Use sqlcmd to log in as the SA user:
sqlcmd -S localhost -U SA -P 'YourPassword'Replace YourPassword with the password you set during the SQL Server setup.
Create the Umbraco database
To create the database, run the following SQL command:
CREATE DATABASE UmbracoDB;
GO
QUIT
You can replace UmbracoDB with the name of your choice.
Install Umbraco Templates and Create a New Project
Now that the environment is set up, we can create a new Umbraco project.
Install Umbraco CLI templates
Use the dotnet CLI to install Umbraco templates:
dotnet new install Umbraco.TemplatesCreate a new Umbraco project
Create a new Umbraco CMS project in a directory of your choice:
dotnet new umbraco --name MyCMS
cd MyCMS
Replace MyCMS with the desired project name.
Run Umbraco CMSLet’s run the Umbraco CMS application.
Build and run your project
dotnet runThe Umbraco site should now be live at
http://ip_address:5000 after changing applicationUrl to ip address of the server in ./MyCMS/Properties/launchSettings.json
Set Up Database Connection
During the first-time setup of Umbraco, you’ll be prompted for a connection string to the database. Use the following connection string format:
pgsql
Server=localhost;Database=UmbracoDB;User Id=SA;Password=YourPassword;
Replace YourPassword with the password you created during SQL Server setup.

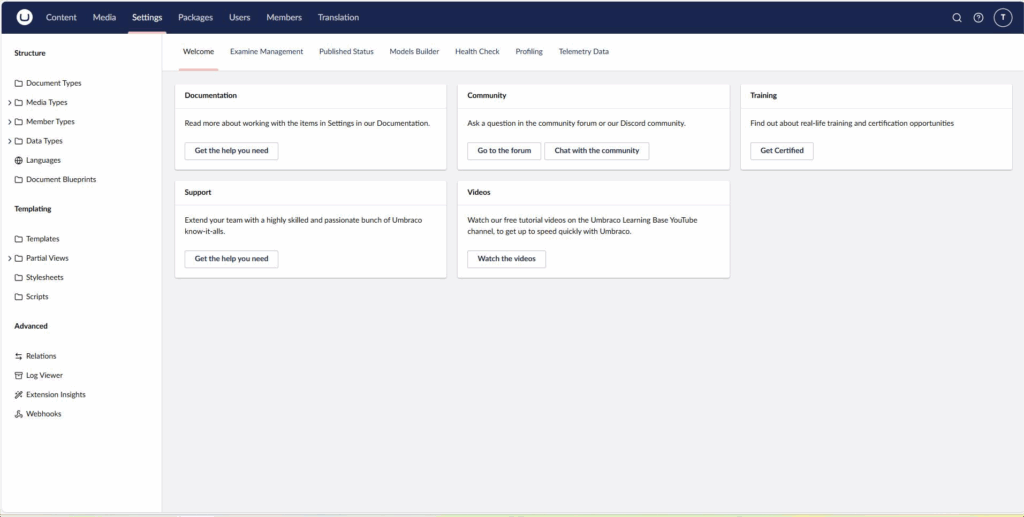
You’ve successfully installed Umbraco CMS on Ubuntu 22, configured .NET 9, and set up Microsoft SQL Server as the database backend. Your Umbraco CMS is now running, and you can start building and managing content right away.
Need help on How to Install Umbraco CMS on Ubuntu ? Contact our team today for reliable support and seamless setup!

