Yii is a modern, high-performance PHP framework that makes developing web applications faster and more secure. With its elegant MVC architecture, built-in tools, and extensive features, Yii is a popular choice for both small and large projects. In this guide, we’ll walk you through How to install Yii Framework on Ubuntu and running it with Apache in just a few simple steps.
Step 1: Update Your System
Before starting, make sure your system packages are up to date.
sudo apt update && sudo apt upgradeStep 2: Install Apache, PHP, and Required Extensions
Yii requires PHP 7.4 or later along with some common extensions.
sudo apt install apache2 php php-cli php-mbstring php-xml php-curl php-zip php-intl unzip -yEnable Apache’s rewrite module:
sudo a2enmod rewrite
sudo systemctl enable apache2
sudo systemctl restart apache2
Step 3: Install Composer
Composer is the PHP dependency manager that handles Yii installation.
Check installation:
composer --versionStep 4: Create a New Yii Project
Move to your web root and create a new Yii application using Composer.
cd /var/www/html
composer create-project --prefer-dist yiisoft/yii2-app-basic yiitest
Step 5: Configure Apache for Yii
Create a new Apache configuration file:
sudo nano /etc/apache2/sites-available/yiitest.confAdd the following configuration:
<VirtualHost *:80>
    ServerName yourdomain.com
    DocumentRoot /var/www/html/yiitest/web
<Directory /var/www/html/yiitest/web>
        AllowOverride All
        Require all granted
    </Directory>

    ErrorLog ${APACHE_LOG_DIR}/yiitest-error.log
    CustomLog ${APACHE_LOG_DIR}/yiitest-access.log combined
</VirtualHost>
Enable the new site and restart Apache:
sudo a2ensite yiitest.conf
sudo systemctl reload apache2
Note: You can secure your Yii application using a free SSL certificate if you want.
Step 6: Verify Installation
Open your browser and go to:
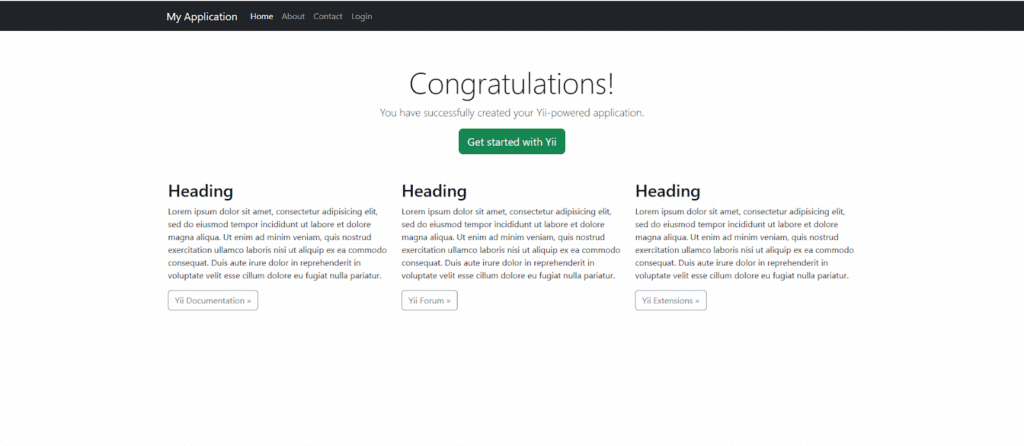
http://yourdomain.comYou should see the Yii welcome page as shown below, confirming that your installation is successful.
Conclusion
You’ve successfully installed the Yii Framework on Ubuntu using Apache! Your server is now ready for developing fast, secure, and scalable PHP applications. From here, you can start building custom modules, explore Yii’s powerful features, and deploy production-ready web applications with confidence.
If you face any issues while you install Yii Framework on Ubuntu or need help configuring your Apache server for optimal performance, our team is here to help. We specialize in Server Management services, including framework setup, web server optimization, and complete Linux server administration. Contact our 24/7 technical experts to ensure your Yii framework runs smoothly and securely on your Ubuntu environment.
